Tips for Getting the Most out of your Sound Recording Equipment

Are you looking to purchase sound recording equipment? Maybe you’re looking to record your first song, or maybe you’re looking to enhance the sound quality of videos. Whatever your reasons for purchasing recording equipment, there are some things you should consider before and after purchasing your equipment. This article will provide tips and information for potential concerns you may encounter before and after purchasing sound recording equipment and why we’re one of the best options when purchasing your equipment.

Equipment you will want to get started

Sound Recording
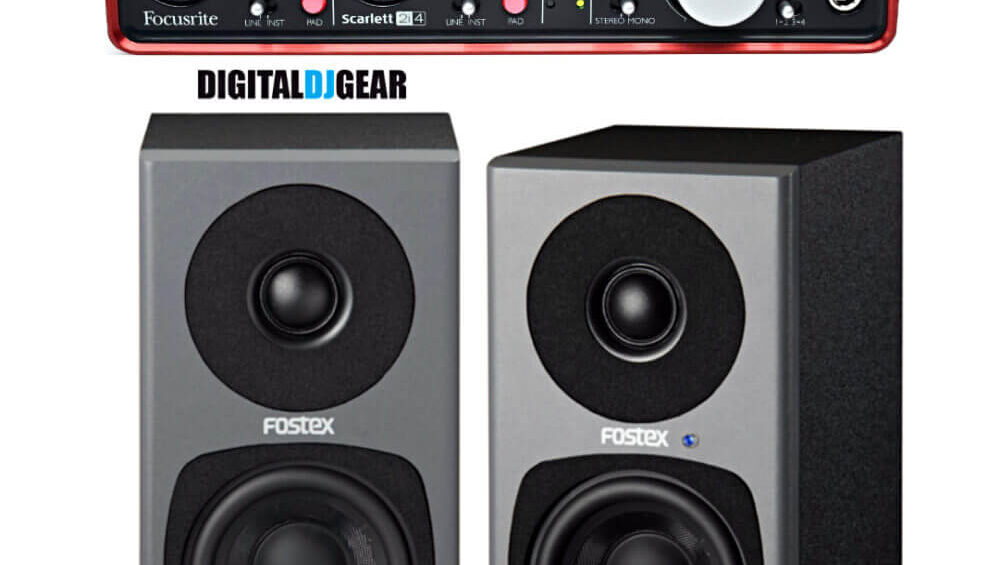
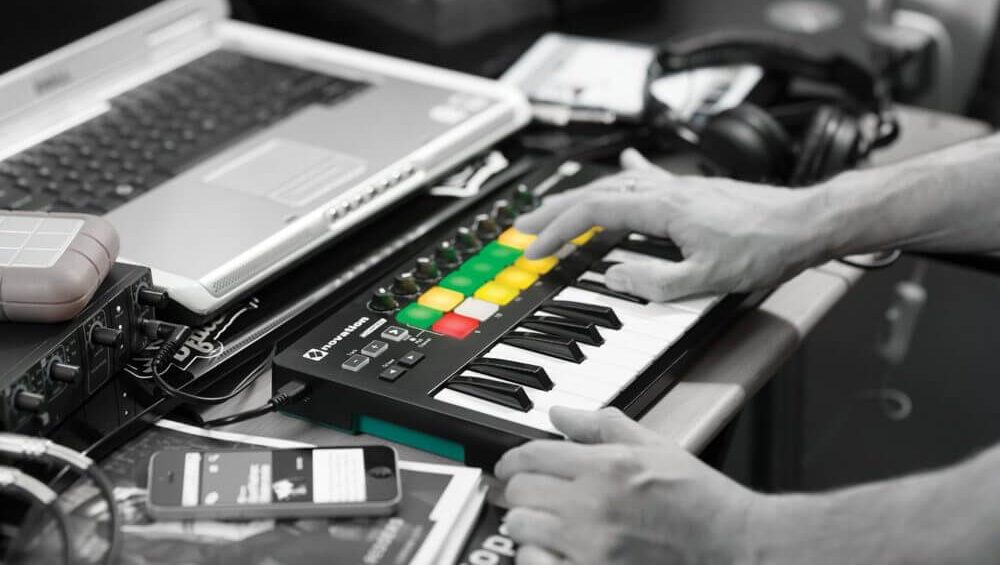
You have decided you want to start recording but aren’t sure exactly what you need. Don’t fret, here are some pieces of equipment that you will want to consider before making a purchase. The first thing we recommend checking out is an audio interface, followed by your audio software and the computer you wish to use. An audio interface is a piece of hardware that connects to your computer. An interface may include ports for microphones, guitar amps, and instruments. Sounds made from devices connected to your audio interface are then transferred to your computer and are ready to be altered by your audio software.

After you have decided which audio interface, software, and computer you wish to use, there are some other studio recording equipment you will want to consider purchasing. This equipment will include the devices you wish to use with your interface, such as microphones and instruments. You will also want to consider what you want your music and sounds recorded on; the preferred option today is digital, but you can also use more traditional options like CD, DVD, or even tape recording. All this equipment purchased alone can easily break the bank, so it is important to note that there are budget-friendly alternatives. You may want to consider an all in one unit. These units are great for starting out, include the essentials, and are considerably more budget friendly.

Making a Smart Informed Purchase

studio recording equipmentThere is a vast variety of sound recording equipment on the market, some superior in quality and price. The process of purchasing this equipment can certainly be daunting for beginners. When people think of buying recording equipment, many assume it will be expensive; that isn’t necessarily the case. While you typically pay for what you get, the overall price in quality products has dropped drastically in recent years. Professional quality equipment can be purchased at a fraction of what it cost ten or even five years ago.

Even with this price reduction, making a smart and informed purchase can save you a lot of time and money. It is a good idea to speak with a professional when you’re looking to purchase recording equipment. An expert can steer you in the right direction in terms of your equipment need, quality, and price range. It is also a good idea to read customer reviews on a product, as other customer input can be invaluable when making a purchase.

Before you buy anything, you should make a list of the components you want and make sure these components are compatible with each other. There’s no shame in starting small; in fact, we recommend it. Making your own recording studio can be very expensive when all is said and done. You don’t want to be stuck with incompatible parts or blow a ton of money on equipment you seldom use or don’t need.

Why You Should Come to Us with Your Equipment Needs

While recording equipment has dropped in price over the years, price still plays a huge factor in the quality of equipment. With all the different pieces of equipment from different companies to consider, it is easy to be led astray with lackluster quality and inflated price. Some retailers boast exceptional quality at low cost, but it’s important to be wary of the deals that look too good to be true.

These “too good to be true” deals aren’t always easy to identify, especially if you’re new to sound recording equipment. Not to worry, we have you covered! We offer top of the line equipment at great prices. Our staff of professionals are qualified and passionate about giving you the tools and knowledge needed to get started. So what are you waiting for? Help us help you get the sound quality you want at the price you deserve!


The Top 4 DJ Controllers on Today’s Market and How to Choose One

So you’re here looking for a DJ mixer and we’re going to be perfectly honest: if you’re here reading this then you already know what it does, so we’re not going to bore you with an explanation. Instead, we’re going to talk a bit about what you should be looking for. If you want smooth transitions between songs and FX control, then you need the best, and that’s not always easy to get your hands on. For that reason you’re going to want to find the best sound recording equipment for sale, and you want to find something that you can love.

Choose the Right Features

DJ controller
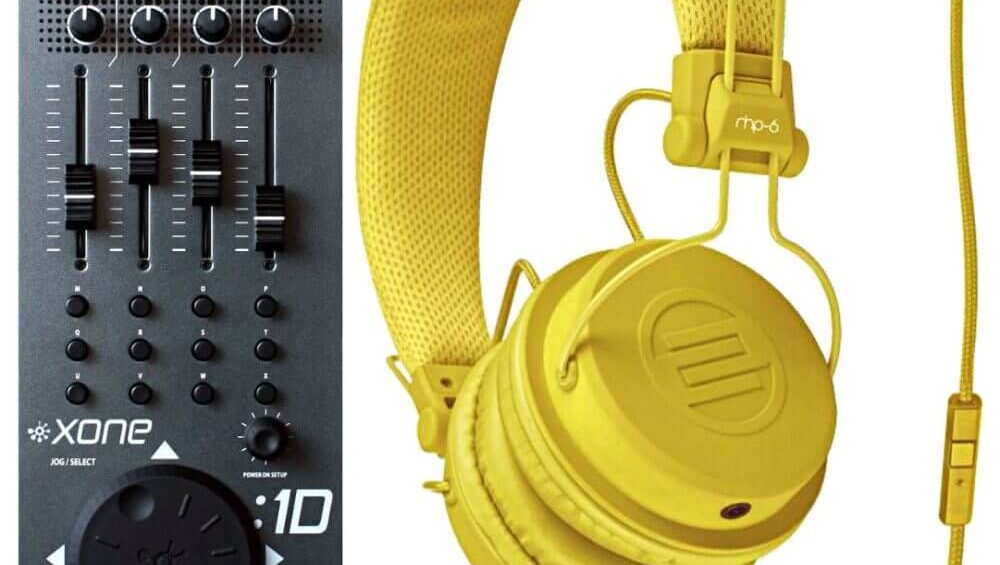
We can’t say it enough: Make sure you choose the right features! There are some that have a wide range of features for mixing: inputs, outputs and there are some that have built-in hard drives. There are some that only mix, and then there are some that have all the bells and whistles, like EQ, Filters, and effects. In the end, it’s really going to depend on what you’re looking for and what kind of show you need it for.

DJ controllers today are often paired up with your computer using either MIDI or USB cable, and mixing software is becoming pretty normal. Sure, it’s easier to use and sometimes it’s a little less expensive, but having a traditional DJ mixer is a feeling that you can’t replicate with software. There is something about having the buttons and knobs at your fingers that makes it all totally worthwhile.

Choosing your Mixer

Choosing a DJ Mixer can be pretty difficult, but there are four major factors for you to consider:

Budget

How much can you afford to spend? DJ Mixers can get a little bit pricey, but let’s be honest, you’re going to be using it for every show, perhaps even every night. Do you want to buy something cheap that’s going to last for a year, or do you want to go for something that will last for 5+ years? Naturally it depends on how much you’re going to be using the device, but you must think ahead as much as possible – within your budget of course.

The Type

When you’re looking for a mixer you need to ask yourself this very important question: do you want ONLY a mixer, or are you looking for something a bit more? We stated earlier that many mixers today come with USB connectivity as well as DJ controller features. When you’re shopping, make sure you choose something that has what you need, which may not always be synonymous with the price range that you are looking for.

Other Features

There are plenty of other features that you might look into, for example headphone inputs, crossfaders, and even low/high pass filters. Make sure you look at each and every one of the features that are available on the DJ mixer you want to buy, and determine whether or not you actually need that feature.

Number of Channels

For most DJ’s, the recommended number of channels is 2, so that you can control two sound sources. Some mixers, however, can support more channels so you can have CDJ devices, Turntables, and a computer all sending music along with microphones. This will obviously be more expensive, and you may not need to go that far. Look closely at your needs and determine whether or not you actually need those additional channels. Remember, it all depends heavily on the level you’re at and what you need it for.

Time to Choose a Mixer

DJ ControllersSo here we are: the moment of truth: the time to choose a mixer. We’ve collected five of our favorites:

  1. Pioneer DJ DJMS-9

Features:  2-Channel DJ Battle Mixer

  1. Mixars DUO

Features:  2-channel DJ mixer with RGB Pads and USB Hub Capabilities

  1. Mixars CUT

Features: Channel no Frills DJ Mixer

  1. Allen & Heath XONE:DB-2

Features:  4 Channel w/ EQ/EFX Loop

These are four of our favorites and you’ll probably notice that some of them have more features than others. Take a look at them in our store and see if any of them fit your needs and your budget. You’ll be making the best sounds soon enough!

Buy Home Recording Studio Equipment for Your Album

Buy Sound Recording EquipmentIf you want to create professional recordings from home, whether you’re thinking of a few demo tracks, or a complete album, you’re going to need the right equipment. It’s unfortunate that many talented musicians aren’t aware of just how easy it is to get started at home, even with some modest equipment. If your lack of equipment has been the one thing that has held you back, then it’s time to take a look at what we can offer you at Digital DJ Gear. With the right studio recording equipment, so you can create professional multitrack compositions with the help of your computer, allowing you to be ready to take the next step in your music career.

A Good Audio Interface is the Heart of Any Home Studio

If you own a computer, then you’re already halfway to producing professional tracks. Whether you’re a singer songwriter, a guitarist, or even a keyboardist or DJ, you’re going to need the sound recording equipment that gets your ideas into the computer, with the highest possible audio fidelity.

Integrated computer soundcards simply won’t do for professional audio production. You’ll need a low latency interface that can take line and microphone signals and send them to your digital audio workstation (DAW). There are some great options available, including the Focusrite Scarlett 2i2 USB2.0 Audio Interface. We provide refurbished units at highly competitive prices, and owning one of these will provide you with two balanced input channels for dynamic and condenser microphones, instruments, or line level devices. If you need more simultaneous recording channels, simply browse through our range, and you’ll find that there’s an interface to suit your needs.

Professional Monitoring from Headphones or Studio Monitors

When you’re recording, you’re going to need something that allows you to monitor your inputs, listen to what you’ve recorded, and then mix and even master your compositions. You can choose either studio monitors or professional headphones, depending on your budget and your needs. If you’re recording in an environment where speakers aren’t practical, then headphones will be an essential aspect of your studio recording equipment. If there’s no problem recording and mixing on speakers, then you could go with some studio monitors.

Fostex makes some great headphones models that can be used for monitoring your input signals and then manipulating your recordings once they’re on the computer. If you have some extra budget to play with, then you could even jump up to models like the Fostex TH900MKII.

Don’t Forget Keyboards When You Buy Sound Recording Equipment

Home Recording StudioOne of the biggest advantages of working digitally, is that you’ll be able to make use of powerful workstation software and third party software instruments. If you want to be able to record your parts live, or simply experiment with different virtual instruments, then you’re going to need a controller keyboard. A controller keyboard doesn’t have any onboard sounds, and is simply an interface that sends midi signals to your computer and software. You’ll find that a keyboard is essential for writing synth parts, basslines, and you can even use one to trigger drums and other samples on your upcoming projects.

We offer plenty of great midi controller keyboards, and even miniature synthesizers. If you want a keyboard that does more than just trigger notes, then you could even choose a model like the Keylab 25, which offers 25 midi keys, as well as programmable knobs, sliders, and buttons, for use with your DAW and other software. If you like the feel of real mixers, then a midi keyboard/controller will definitely be something that you’ll want in your studio.

Software Brings All of Your Studio Recording Equipment Together

If you purchase a new Focusrite audio interface, you’ll get access to Pro Tools | First, an entry level version of the industry leading DAW. This software will allow you to record multiple audio tracks, add midi tracks for virtual instruments, and, when you’re ready, you’ll be able to take your concepts all the way to high quality mastered WAV, MP3, or other standard audio files. If you’re looking for software synths, then we also provide Arturia software synthesizers, which will pair perfectly with Pro Tools | First and your choice of midi controller keyboard.

Recording at home isn’t overly complicated, and when you shop with us, it won’t be prohibitively expensive. Browse our range and talk to us today about your ideas for a home studio, and we’ll help you to get all of the right studio recording equipment that will allow you to bring your musical concepts to life.


Sound Recording Equipment For Your First Album

Sound Recording Equipment

For any independent artist, the one thing that’s blocking them from success is their access to a recording studio. Without a big label behind you, you don’t have access to big studios, and renting one can feel like money down the drain. Today though, there is another way.

Building your own recording studio is a lot cheaper and easier than you could imagine. You can buy sound recording equipment that doesn’t cost the earth, then record your album your way. Here’s how to do it and be your own boss when it comes to your vision.

Sound Recording is Available for Everyone

Sound Recording Equipment
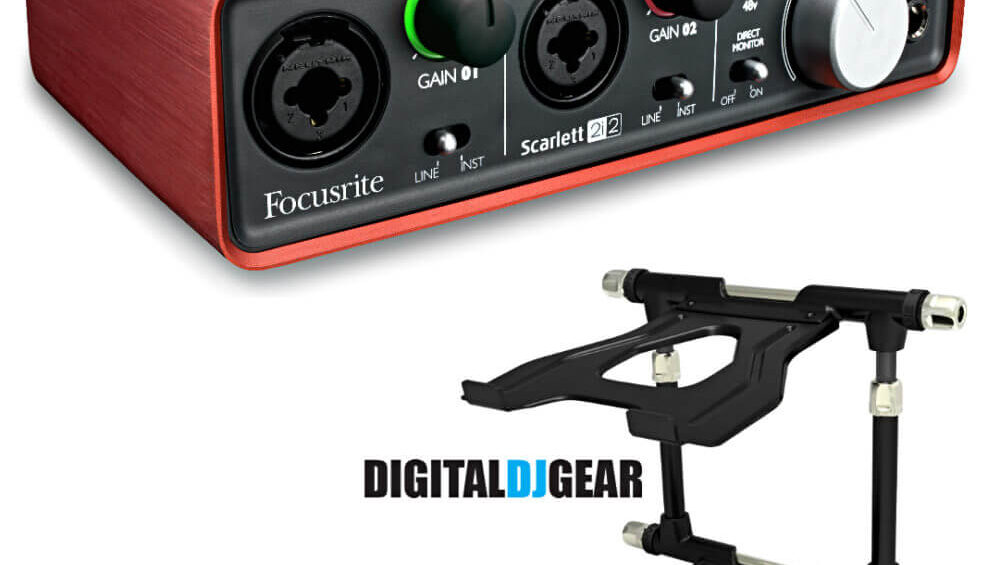
Even only ten years ago, if you wanted to cut an album you would have to hire out studio space and pay others in order to get to work. It’s no secret that going independent means you’re going to pay a lot of money out yourself.

With just a little bit of space and cash though, you can create that studio for yourself. All you need is a room and the right sound recording equipment. These days, it’s easy to get started and make your own studio. Once you’ve laid out the cash, you have that studio for good. You can keep working in there, and improve on it as time goes on. It’s a sound investment in your career.

The Basics You’ll Need to Get Started

If you want to start recording, you’re going to need three basic things:

  • A computer


  • At least one microphone


These three things will form the backbone of your studio. You’ll record into the microphone, and the audio interface will translate that signal into your computer. You can then track the recording in the computer, making the changes needed as you work.

Of course, there will be other options you can include as time goes on, but for now this will work as the stepping stone to a full studio.

What a Home Studio Could Include

There’s a few basic pieces that you can include to create the start up studio you need:

  • The computer: You more than likely already have one, but the wisdom of many sound technicians states that you want the fastest one possible. It’s a good idea to work with your current model for now, and upgrade to a dedicated studio computer later.


  • An Audio interface: As mentioned above, this is what connects the computer to the rest of your equipment, and so isn’t an item you can skip. A DAW and audio interface are separate items with different jobs to do, but it’s best to buy a combo if you’re starting out.  A good one to consider for the beginner is the Focusrite Scarlett Solo or the Scarlett 2i2 MKii.  Both come with a DAW bundled with them.  A DAW, for those that don’t know, is a Digital Audio Workstation.  The software that you record to, edit, and use to make your music in the computer.


  • Microphones: You’ll only need one or two to get started, and which ones you buy will depend on what instruments you’re recording. Shop around and look for what’s best for you and your sound.


  • Headphones: As you’re likely to be recording alone for the time being, one pair of headphones should suffice for now. It’s worth buying a decent quality pair, as cheap ones will save money but they can fail quite easily.


  • Studio monitors: You can listen to your recordings on your headphones, but to get the best sound out of them you’ll need studio monitors. These speakers are used for mixing as they give a flatter, basic sound, which helps you listen and tinker with them objectively.


  • Mic stands and pop filters: You may not think you need these for now, but they’re excellent investments to make. With such basic equipment you can get much better sound quality.

Setting Up Your Studio

music recording equipmentNow you have bought your music recording equipment, you’ll need to set up your studio. Here’s some tips to get you started.

  • Pick your room: The room you use needs to be the biggest, quietest, room you have. Preferably it will have hardwood floors. If you don’t have all these things though, any room you have can be adjusted.


  • Clear out everything you can: If the room doubles as a bedroom or other living space, you may not be able to remove everything. Remove what you can, though.


  • Add acoustic treatment: There’s lots of guides online to make your room perfect for the acoustics of your recording. Use them now to get the most out of your studio.


  • Set up your recording stations: These will look different depending on whether you’re recording solo, or with others. Find the right set up for you, and connect all of your equipment.


Now you have your equipment and your studio set up, you’re ready to get recording. You’re the master of your own work with a home studio, so get out there and make the best album you possibly can.


What is a Preamp and Does it Belong in your Sound Recording Equipment?

When you are hard at work building the perfect DJ kit, you might be wondering what a preamp is, and whether or not it actually belongs in your sound recording equipment. Well, we would definitely say it does, but you probably want to know what it is and why exactly you should have one. We have a fairly non-technical explanation for you today along with a few brand examples that you can find right here in our store. Let’s get started, shall we?

Understanding the Preamp and its Role in your Sound Recording Equipment Arsenal

sound recording equipment packageYour kit is an arsenal, or perhaps better described as a ‘Swiss Army Knife’. You need every single piece you have to complete the whole picture, and while the preamplifier is a very small part of it, it’s a very big part of your final product. Essentially, the preamp is an electronic amplifier whose entire job is to prepare an electrical signal for amplification. While this could be from nearly any source, it is generally used for microphones or instrument pickups. Essentially, you can amplify the sound of anything so long as you are able to connect it to the line. In many cases, you will find that preamplifiers are integrated into your audio inputs on your device, which can include:


While integration with the above devices is often a key part of the operation, keep in mind that a preamplifier, or preamp can also be a standalone device, two of which we’re going to talk about shortly.

Making it Work

If you have a USB Audio Interface with preamps it should be placed close to your computer and attached with a USB cable.  Once a signal hits your preamp it is going to be a digital signal from there, which makes it vital for you to have a high quality preamp between the source and its final destination on your computer. Let’s take a look at two of the most popular USB Audio Interfaces on the market!

The Scarlett 2i2 Generation 2

The Scarlett 2i2 Gen 2 is a USB Audio interface, and is without a doubt one of the best selling. It accomplishes three very important things: high speeds, top sound, and ease of use. The second generation model continues to evolve and push those areas to the brink, giving you better sound than ever before. Best of all, you can take it anywhere and connect it to any device using a single USB cable. You also have the ability to connect up to two microphones, and it’s compatible with all major DAWs across the two most popular computing platforms. The device features some of the lowest latency in the market at only 2.74ms and can operate at Sampling rates up to 192Khz at 24 bits.

Audient iD14

Sound Recording Equipment
When you’re looking for the highest end sound in your sound recording equipment package, this is right where you want to be. The Audient iD14 delivers professional sound, using Audient’s patent Class-A mic pre-design used in its high end recording consoles used by professionals all over the world.

The iD14 brings to the table its high performance AD-DA converters and a quality analogue design. Going beyond the hardware, we can see that it has outstanding software while still managing to keep things pretty simple. The iD14 features a mixer app designed with that simplicity at the forefront, the iD14 is specially designed to match the hardware that it inhabits, ensuring that you can get the job done quickly while concentrating on the music rather than highly technical details.

Finally, don’t forget to take advantage of the ScrollControl function that allows you to easily scroll through DAW Hosts and plugin parameters. You can even scroll through your iTunes library at will. It’s more than just a cool piece of hardware to add to your collection, it’s a new way of life entirely.

These are two outstanding examples of hardware that you absolutely want to add to your ‘arsenal’. They improve your sound and give you advantages that you simply would not have otherwise. Head over to our store, pick your preamp, and start producing outstanding, professional recordings.


How to Raise your Mic Quality Without Buying a New One

We’ve spent a lot of time talking about microphones and we’ve definitely tried to encourage you to buy new ones but you know what? Sometimes that isn’t actually necessary at all. Sure we want you to buy the latest and greatest tech but we kind of want you to be happy with what you have. We’re going to be perfectly honest here; sometimes ‘problems’ with microphones can be easily fixed with a little bit of knowledge – which we’re going to drop on you in this post. Hang on, strap in, or do whatever you need to do because we’re about to take you on a pretty technical ride. Don’t worry, it’s easy to understand.

Keep your Sound Recording Equipment Sounding Great – There’s a Reason

buy sound recording equipment
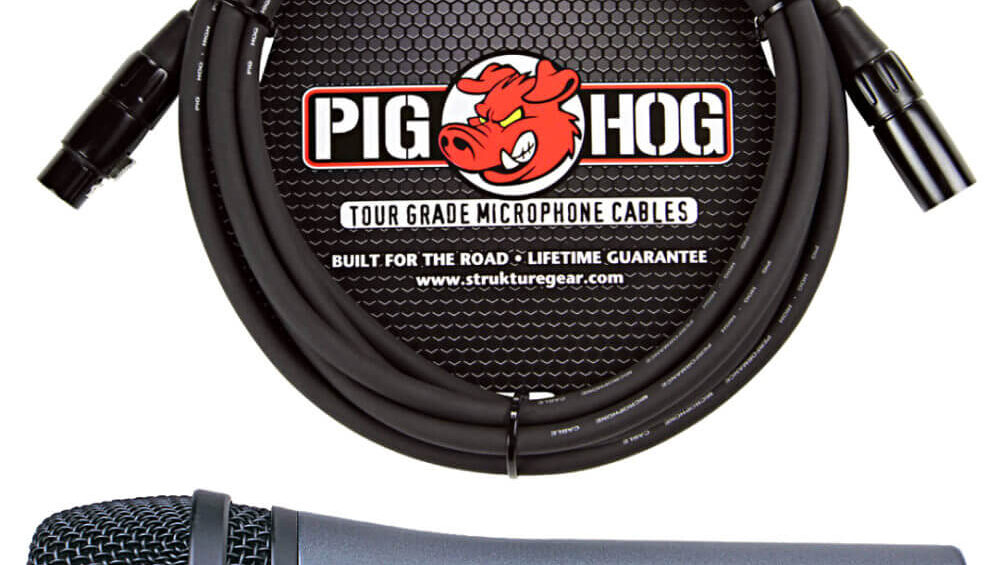
So you’re trying to make a high quality recording with your microphone and it’s just not coming out right. Well don’t worry about that, it’s a really common problem. We’ve dealt with it a lot, and we have to admit that sometimes our first instinct was to go online and buy a new one. Live and learn, right? Well, as it turns out there are a few ways to make a microphone sound better and we’re going to go over a few of them.

Before we get into how you can make your microphone sound better we’re going to mention the fact that there are many different types of microphones on the market. Some are high quality, some are low quality, and some are in between. It always helps to buy the highest quality microphone you can get but we understand that’s not always feasible. Don’t worry, there are still plenty of ways to make it sound better, so let’s take a look.

Change the Angle of your Mic – It Really Works

When you buy sound recording equipment you can expect it to have a few innate quirks that you have to watch out for, and in the case of microphones it’s going to be puffs. So what are we talking about here exactly? Well actually we’re going to cover a wide range of different things including:

  • * Pops
  • * Puffs
  • * Clipping
  • * Background Nosie
  • * Reverb
  • * Static


All of these probably sound like the end of the world when you’re in a recording session but you know what? They’re all completely fixable.

Fixing the Pops and Puffs

The headline for this section probably sounds a bit crazy but you’ve heard it before, even if you don’t’ realize it. The pops/puffs are just that massive popping sound you hear with P words – you know it now, you hear it everytime you talk into the mic. Well you could buy a pop screen, which is what most studios do, or you could try angling the mic 45 degrees to the side during recording. Fun fact: the puff only goes to the front, but your voice goes everywhere. It’s really cool and we definitely recommend trying it if you want to make the best recording.

Get Rid of Clipping

sound recording equipment storeThis is another one that you’ve already run into – it occurs when your voice is too loud for the mic. For example when you’re trying to do your death metal screams you end up with distorted sound. This can actually be fixed by lowering the sound recording volume on your PC, assuming your sound is actually going through a PC. If it is, good for you, because you already have more control than many other people.

Cut Through the Static

When you buy sound recording equipment you’re probably going to be a bit worried about the potential for static and rightly so. The best way to get rid of this is to make sure you’re moving the mic away from all sound sources other than your own voice. This is precisely why most performers work in sound proof booths. If you’re recording next to a computer, make sure the mic is nowhere near it – that will help immensely.

Finally – The Reverb

At any sound recording equipment store they’re going to tell you that reverb is a pain and they’re not wrong, not in the least. This is essentially just the background echoes that your mic will pick up when the sound rebounds from the walls of the recording space. What you’re going to need are walls that can absorb the sound instead of reflecting it, and one of the best ways to achieve that is by lining those walls with foam. Acoustic foam is definitely a good idea, so consider that before you start recording.

You see, you don’t have to replace your mic just to get the sound you want – there are simpler ways to do it if you just believe in yourself and your abilities to implement makeshift solutions. Still, there is nothing out there that beats good microphone.


The Steps to Recording an Album on your Sound Recording Equipment

sound recording equipmentEveryone dreams of recording their own album and if you have the right sound recording equipment, then it doesn’t have to cost you an arm and a leg to get the job done. Getting the job done professionally in a real studio can actually cost several thousand dollars for each and every song, but if you are doing it on your own, things definitely get a bit cheaper. Setting up a home recording studio is a matter of ease so long as you have access to the right equipment and we’re confident that you will find all of the sound recording equipment that you need right in our online shop.

There are a few very important items that you’ll need to have on hand, though admittedly this article is going to be focused heavily on microphones. Some of the most important equipment for your recording endeavors will include:

  • Audio Interface – A device used for upscaling the sound used on laptops and desktops. More often than not, the sound that comes as stock with computers is not of the highest quality, using lower end cards and outputs. Interestingly enough, there are many who say that they can’t hear the difference, and maybe that’s true, but you don’t want to create a low quality recording that is going to be played through an even lower quality home sound system. There has never been a more amateur move and it’s not a trap that you want to fall into.


  • Mixing Board – The only way to make sure that all of the instruments and vocals work properly and in tandem is with a proper mixing board. There is obviously quite a bit of work that goes in after the recording is said and done, but it is important to make sure that there is a balance beforehand.


  • Laptop/Desktop – You can go with either a laptop or desktop for recording or output, or any of the other necessary functions, but we’re going to say right now that a desktop is highly recommended for this type of work. A laptop is more portable but the components are also in a more confined space, meaning they can overheat very quickly. No matter how many heat syncs your laptop has inside, and no matter how powerful the cooling pad is, you simply cannot ignore the second law of thermodynamics, and eventually it’s going to overheat. A desktop on the other hand can be fully customized with industrial cooling solutions and even swappable hardware so that you can upgrade to the latest and greatest to make your recording session a complete success.

The points we’ve made above are very important and you’ll definitely want to make sure that you have them in your recording arsenal, but as we said before, one of the most important pieces of music recording equipment is going to be the microphone. There are several different microphone types and we’re going to cover a few of the more important ones.

A Look at the Different Types of Microphones – Essential Sound Recording Equipment

Take a look at the following types of microphones and determine which of them meets your immediate needs.

Large Diaphragm Condenser Mics

You’ve seen these before, there’s no denying it. They appear in countless movies and television shows, and they’re actually the standard mic for vocals. If you’re starting a professional recording studio this one will probably be on your shopping list, but it probably isn’t great for home use, especially considering the pricetag.

Small Condenser Mics

These are generally known as pencil microphones and they are pretty popular in music recording equipment. This type of microphone is often used in recording simply because it is great for high frequency detail, and it is definitely more convenient to carry around. For singers and songwriters this is absolutely perfect, and it is a great companion for guitars or other stringed instruments.

Bass Mic

music recording equipmentBass mics are exactly what they sound like: they are designed to capture very low end sound. Sometimes this one is referred to as a kick drum mic, and it can be used to capture the low end thump – not really a voice mic but it makes a great addition to your recording arsenal.

Multi-Pattern

This microphone generally takes the form of a large diaphragm condenser and allows you to switch between three polar patterns including Cardioid, Omnidirectional, and Figure 8.

Finishing Up your Set

Getting the right microphone for your home recording studio is important, but you should of course make sure you have a good studio monitor, headphones, and other odds and ends offered by Digital DJ Gear. Take a look at the website and get the equipment you need to make sure your next recording session is a success and your album becomes a smash hit.


Three Beginner Tips for Setting up your Recording Equipment

So you’re getting ready to build your very first home recording studio and you’re not entirely sure where you should start then you’re in luck! We’re going to list off all of the items you need to get your new setup deployed. The first thing you need to know, is that contrary to popular belief, it does not take months to get your setup ready. IN fact, getting started only requires you to get the essential recording equipment.  Sure there are a ton of different devices out there and you’re probably wondering how you’re going to afford it all, but we’ve taken the liberty of collecting a few of the most important items for you. Let’s get down to basics.
Basic Recording Equipment

Keep it Simple with the Most Basic Recording Equipment

The first thing we’d like to say is that you have to keep it simple. You might want all of the latest and greatest equipment but if you are a raw beginner then quite honestly, it’s just going to get in the way – don’t let that happen. Too much too soon is the pitfall that nearly every hobbyist is going to fall into, and you might rather quickly find yourself to be a bit overwhelmed – don’t let that happen. You’re about to invest a lot of money into your new hobby – don’t let it go to waste!

Before you take that advice to heart however, it is important for you to ask this very important question: how cheap is too cheap? When should you splurge and when should you hold back? There is a lot of cheap equipment out there, and sure, you could build a studio for $400 if you really wanted to but we’re going to say right now that the audio quality isn’t going to be something you’re proud of. That being said, you should at least consider buying mid-range equipment. Also note that you should keep all of your equipment at roughly the same quality. Sure you could try to cut yourself a break on a microphone or a mixer, but as they say, the weakest link in the chain is the one that gives out. In other words you’re going to replace that lower end piece of equipment anyway so why not get it right the first time and avoid wasting money?

Getting Started with the Best Studio Recording Equipment for Beginners

Studio Recording Equipment for BeginnersThere are a few basics that you’re going to want, and we’re going to cover them as quickly as possible. After all, you want to spend more time setting up and less time reading, right? Let’s get you on your way!

ComputerThere is a bit of controversy over which type of computer you should be seeking out or buying when it comes to your DJ setup. Some will recommend a laptop which is outstanding if you’re constantly on the go, but there are some downsides to this choice. First of all, you’re going to find, rather quickly, that with a laptop you have limited hardware and an inability to upgrade.

Sound cards in laptop computers are not ‘great’, so to speak, though there is hardware you can use to fix that. If you want to go all out and don’t foresee yourself moving around regularly then you might want to look into a desktop so that you can constantly upgrade and use the latest software.

Studio MonitorsSpeakers are one thing, but studio monitors definitely have their benefits. These are typically used to simulate what the audio would sound like on a consumer grade system. Not everyone has the best speakers or the resources to get them, so you must make sure you’re catering to the lowest common denominator. One of the most common studio monitors happens to be the Yamaha HS8, though as always, make sure you’re using the right speaker stand, like the Accenta SST-5.

HeadphonesYou need to hear what you’re recording, and you need to do so without any outside interference. High quality headphones can deliver audio on both the high end and the low end, making them a valuable commodity in this industry.

MicrophoneYep, you guessed it, you’re going to need a microphone, and you’ll need to make sure that you choose the right one. Fortunately most kits come with one, though you might want to look into something a bit higher quality later on.

Audio InterfaceFinally, you need to make sure that you have a good audio interface like the Focusrite Scarlett 2i2 Gen2 or Audient ID14. This is the best way to connect your computer with all the gear you’ve collected and the only way to make the whole thing work.

CablesGetting the right quality cables, like Pig Hog is essential as it will allow you to transmit your audio with minimal interference, ultimately giving you a higher quality sound.

Getting set up with your music recording equipment doesn’t have to be hard, just follow the guidelines we’ve listed above and get ready to rock, speak, or sing, whichever you prefer most.